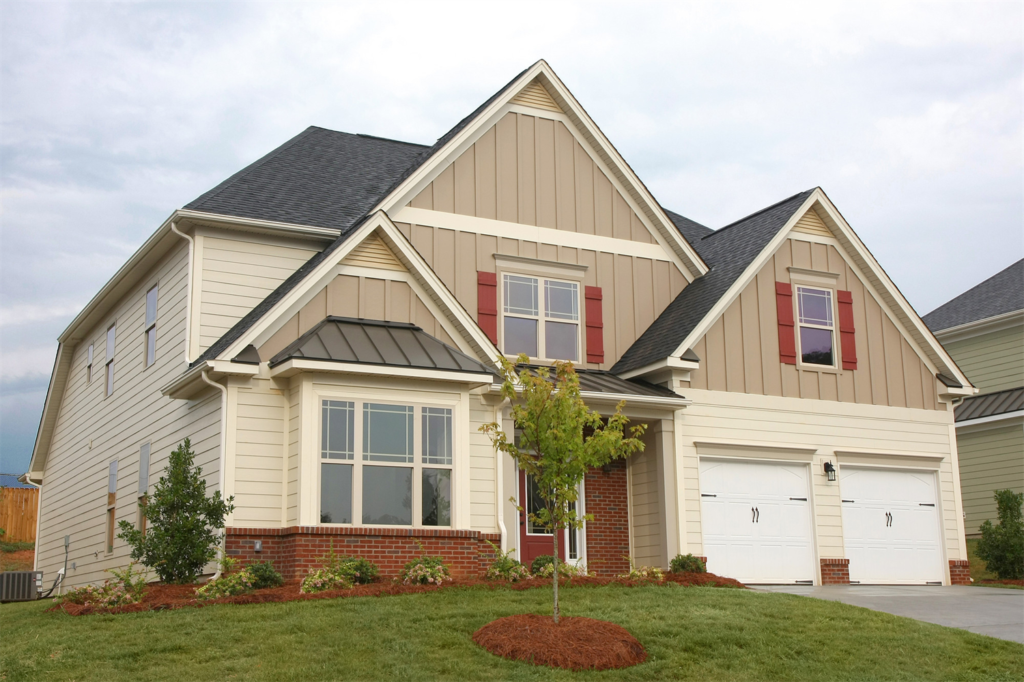
Board and Batten Siding Installation Tips

Here are some tips that will help you get started installing board and batten siding on your house:
-
Safety first
Safety should be the top priority when installing board and batten siding. The siding panels used for this type of project are heavy, so you need to have your equipment in place before installing them.
-
Install boards first
When you’re dealing with any siding, the first step is to install the boards. These are the cladding parts. Install the boards first before you install battens and any other siding parts.
It’s easy to do; attach the boards using metal nails or screws and adhere them to the siding board channels.
-
Keep nail to board ratio in mind
The nail to board ratio is the most important thing when working with this type of siding. This will ensure that your siding is installed correctly and that your home will look great. But don’t worry, as long as you have a few clamps and a caulking gun with you, you should be able to start installing your siding in no time.
-
Treat the wood
When you’re installing board and batten siding, make sure that you treat the wood beforehand. By doing this, you’ll protect the wood from moisture that could cause it to rot down over time.
-
Don’t forget to paint the edges!
Another important thing you need to do when installing board and batten siding is to remember that you have to paint the edges. By painting the edges, you’ll protect your siding from water damage over time.
-
Put it together, and you’re done!
When installing a board and batten, the last thing you need to do is to put the siding panels together. Basically, follow the instructions that come with your panels, so you can get it done in no time.
The board and batten installation process can be a daunting task, but you should have no problem installing this type of siding if you follow these tips.


